After testing some of the new Nano Pro filters by the popular filter manufacturer Haida which were very convincing I present to you a new Filter Test. Since the first test I’ve become a brand ambassador after using their ND Filters for my long exposures for years now. So know that I have received this filter for free.
For some time now I’ve been feeling interested in checking out their new Clear Night Filter, since I have been shooting during the dead of night quite frequently in recent years. The theory behind this filter is that it blocks out certain wave lengths of light, namely those which cause the warm, often irritatingly yellow, color cast of light pollution, thus lessening its impact. This encompasses the light around the 580nm to 610nm wave length which is mostly emitted by classic sodium-vapor lamps and similar light sources.
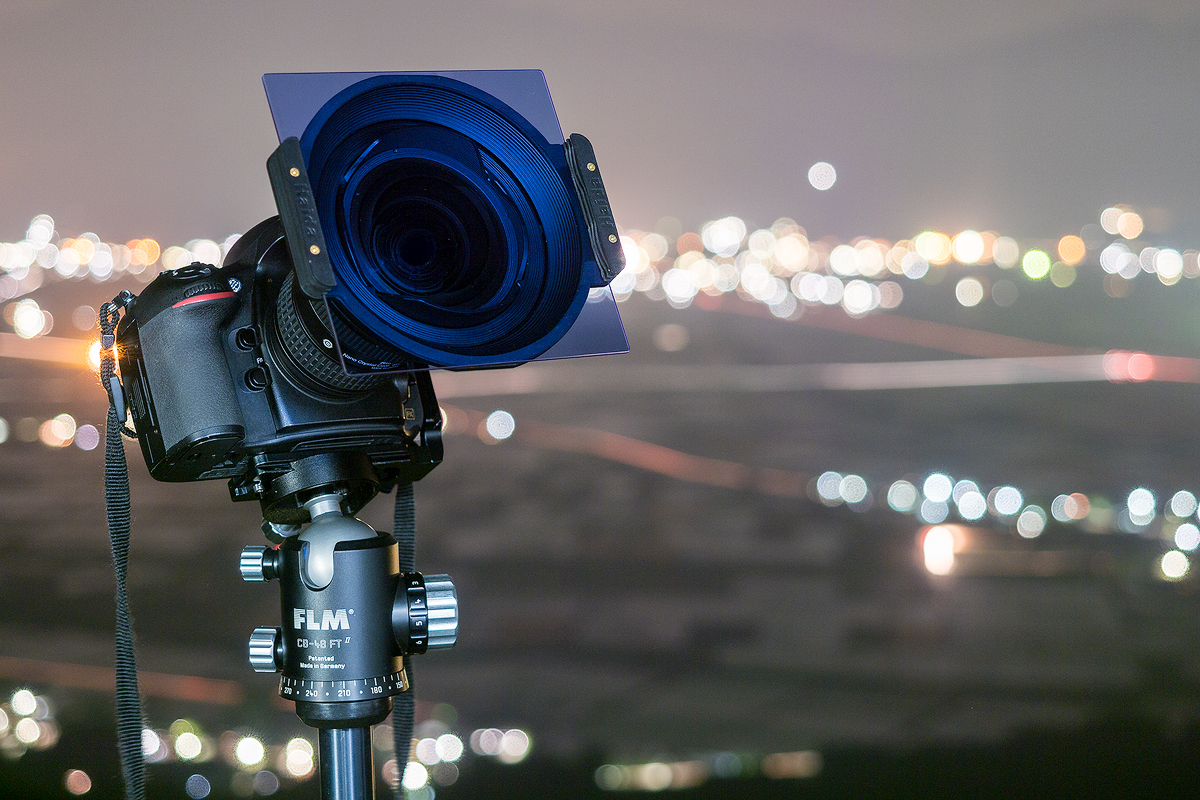
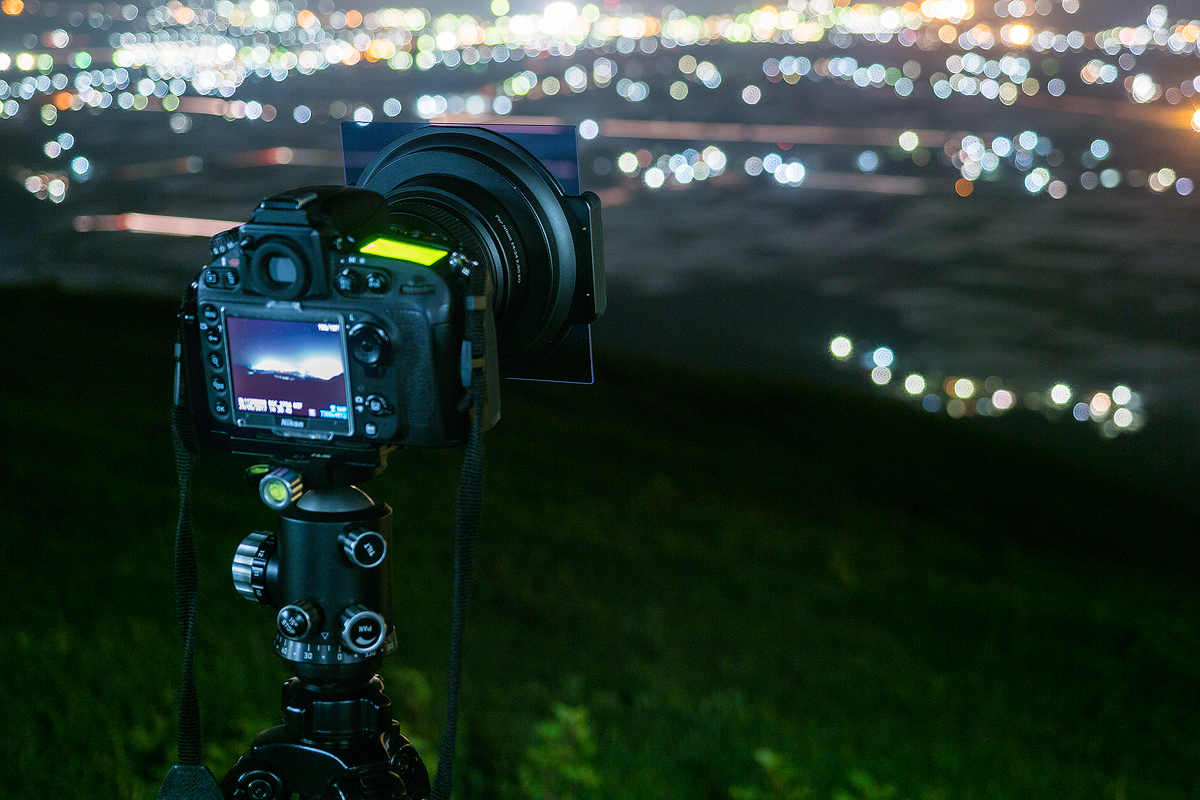
All the images in this blog where taken with a 150mm square filter prototype version on the Haida 150mm filter system during my recent trip to Japan. I tried to include most shooting scenarios where I thought a filter with these specifications could come in handy.
As you can see in this shot the Clear Night Filter by Haida has a clear color cast, which leads to a alteration of colors in the process, but not in the way one would assume. There is no margenta color cast in most scenarios, but more on that later. For further reference I will always give the complete EXIF information of the shots. All the comparison images have been shot with the same white balance and camera settings, if not I will mention it in the EXIF.
Landscapes & Rural:
[bs_image_comparison id=’5757′]
EXIF: WB: 5350 Toning: +6 | ISO: 800 (1600) | 24mm | f/2.8 | 30s
The first set of images was taken during a particularly hazy evening near Mt. Aso with severe light pollution. As you can see the warm color cast is entirely gone in the filter version. The light pollution itself however is still present, only a bit lessened if at all. It could be concluded here that much of the light that caused the light pollution in this instance was not within the range of light that is blocked by the filter, as in Japan most of the street lights and other exterior light sources have switched to LED in recent years which emits light at a lower frequency. So the glow above the horizon line is still apparent, but the natural colors make it more appealing to the eye, by rendering it more suitable for the entire scenery and evening out the color distribution across the frame.
Note that in order to compensate for the overall reduction of light (since some wave lengths are blocked, the image is about 3/4 of a stop darker) I increased the ISO by a stop.
[bs_image_comparison id=’5765′]
EXIF: WB: 5350 Toning: +6 | ISO: 1600 (3200) | 14mm | f/2.8 | 30s
In the second image comparison I took a medium light polluted scenery in direct moon light. Again the color cast is gone, and the image overall looks more realistic. The light of the moon doesn’t seem to be altered that much either. Note that there is no flare even though the filter is in the direct moonlight which is due to the new Nano Coating Haida now uses for their filters.
[bs_image_comparison id=’5759′]
EXIF: WB: 4550 Toning: +4 | ISO: 6400 | 14mm | f/2.8 | 20s
Since I knew that the light transmission rate isn’t 100%, I wanted to try it in one of the most important situations for landscape photography after sundown: shooting the milky way. As you can see in the image comparison, above the colors again look more natural – especially in the lower left corner where there actually is some light pollution – but it is overall darker because I did not compensate the exposure in this case for illustrative purposes. This comes as a severe trade off in scenario where light is scarce, keep that in mind.
So what to take away from this so far? There seems to be a strong alteration of the color output of the camera, which is not surprising, given the toning of the filter. The light pollution doesn’t magically vanish though. It seemingly becomes less apparent however. So for these shooting conditions it feels like the filter is an optional choice as the color temperature could be manipulated in post production which takes some finesse no doubt. For people who like to keep their editing to a minimum, this is a viable option for scenarios like the above.
But the usage of Haida’s filter becomes more enticing when we enter the major city centers where light pollution is abundant.
Urbanscapes:
[bs_image_comparison id=’5761′]
EXIF: WB: 2990 Toning: -22 | ISO: 160 | 17mm | f/11 | 20s
Down in the streets of Kagoshima the effect of the filter is pretty striking right of the bat. There is a clear shift of colors in the reds and in the yellows as well as in the shadows. The yellow light becomes dominant overall and I feel like the magenta cast is now becoming visible. This for many seems to be a matter of taste. I personally like what the filter does, even revealing part of the natural blues in the sky, which would otherwise not have been visible. As you can see with back lighting there is only minimal flaring with the filter, again due to the Nano Coating, already in use with the new Haida Nano Pro ND Filter series as well. If anything, you add another layer of dust spots in front of your lens, but with regular street lights there is only little extra flare, if any at all. With the coating the filter is also easy to clean with nothing but water, which usually does not leave traces when applied with a micro fiber cloth – so there is little need to use alcoholic cleaning kits (only if sea salt has made it onto the filters).
[bs_image_comparison id=’5762′]
EXIF: WB: 4150 Toning: +34 | ISO: 250 | 20mm | f/6,3 | 30s
The next set of images reveals fairly quickly that with the Clear Night Filter in front of the lens you can get quite stunning results straight out of the camera with absolutely no editing whatsoever. I was very surprised of how good the RAW file looked right from the start. It has more contrast and it has naturally intriguing light colors, which for some may seem a bit overly colorful as the filtering of the yellows brings out all the various nuances of the light that would otherwise be overshadowed (or in this case outshone rather). Again, I think it gives spectacular results without any extra time spent. That is an advantage for those often shooting strongly light polluted areas or right within the fray of bigger cities.
After conversating with my good friend and travel buddy Philipp Lutz during my various test, we wondered if the color alterations could also be achieved via manipulations of the RAW-file in post-processing, changing the white balance and color interpretations of the RAW file. Of course I tried this after I got home from Japan and almost managed to replicate the effect, but with a considerable amount of invested time – around 20 minutes of tweaking. You can see the result below. Note though, that this was only possible by constant side by side comparison. Had I not had the filtered file I would’ve had no idea where to start to achieve the look.
[bs_image_comparison id=’5768′]
Conclusion:
Now what is my conclusion concerning this filter?
I think for people that need every last photon for deep sky or milky way shots, this filter is only of use when shooting in heavy light polluted areas, where the filter can actually do it’s work. If light pollution is not an issue I would prefer to get as much light onto the sensor as possible to keep the ISO down and the exposure times short to prevent startrailing. If you have an astrotracer – which I unfortunately do not have yet – I would imagine that it’s a great addition to the arsenal however, as the length of exposure then becomes less of an issue.
For all those who shoot right in the middle of the city, I think it is a great way to keep editing to a minimum, as you get images that look stunning colorwise right out of the camera. Also for folks new to the vast field of photography this filter heralds its benefits, as you don’t have to edit the shots and can focus on what’s important, i.e. composition, exposure and atmosphere. For professionals the filter saves a lot of time. It took me ages to come up with anything that looks like the filtered image and each time I had to edit the image in a different way to achieve results. The filter can thus not only give you an edge in night photography by supplying you with a certain style which I deem pretty cool, but also saves you hours of time in front of your screen that you can rather spent out in the field shooting new images for your portfolio.
You can visit the Haida Homepage for more information on the filter and you can purchase it via the usual channels.